

This past year the entire staff at my school underwent training in the 7 Habits. We began to implement the teachings of the 7 Habits in various areas throughout the school. One of the main things that the administrators and staff at my school are looking forward to is seeing how students can take charge of their behaviors and choices. Many of the K-3 classrooms use a clip chart similar to the one designed by Christina Bainbridge. However, we were looking for a means to tie in the 7 Habits with our behavior system. My coworker, Abby, of Third Grade Bookworm came up with the perfect solution when she had her creative juices flowing and designed the 7 Habits Clip Chart.
Today my Second Grade teammates and I gathered to use Christina Bainbridge’s colorful clip chart idea and combine it with the 7 Habits Clip Chart sayings that Abby penned. Here is what our final product looked like:

Before the Second Grade team gathered, I got all of the supplies. The plywood was purchased from Lowes where one of their employees kindly cut the plywood into 14 x 69 inch pieces. Here is a list of all the supplies we used to create the 7 Habits Clip Charts:
· 14 x 69 inch piece of plywood (1 per clip chart)
· Primer
· Spray paint (pink, purple, blue, green, yellow, orange, red)
· Painter’s tape
· 7 Habits Clip Chart FREEBIE from Third Grade Bookworm’s store on Teachers Pay Teachers
· Pencil
· Tape measure or ruler
· Mod Podge
· Sponge brushes
· Scrap paper
· Drop cloths
· Sand paper
Before we primed the plywood, we used sanders to get rid of splinters and smooth out the edges of the wood. Once the sanding was completed, we primed each piece of plywood. Then we had to wait for the primer to dry, so we took a break and caught up on what has been happening thus far this summer.

Once the primer was dry, we used tape measures and rulers to measure the various sections. The pink, purple, blue, yellow, orange and red sections are each 9 ½ inches x 14 inches. The green section is 12 inches x 14 inches.

Once the sections were measured, we used tape on the outside of the lines that designate green, purple and orange. Then we proceeded to paint each of those sections. Once those colors were on, we once again had to allow time for the paint to dry. At this point in the day, that meant we ordered lunch and enjoyed some more socializing.
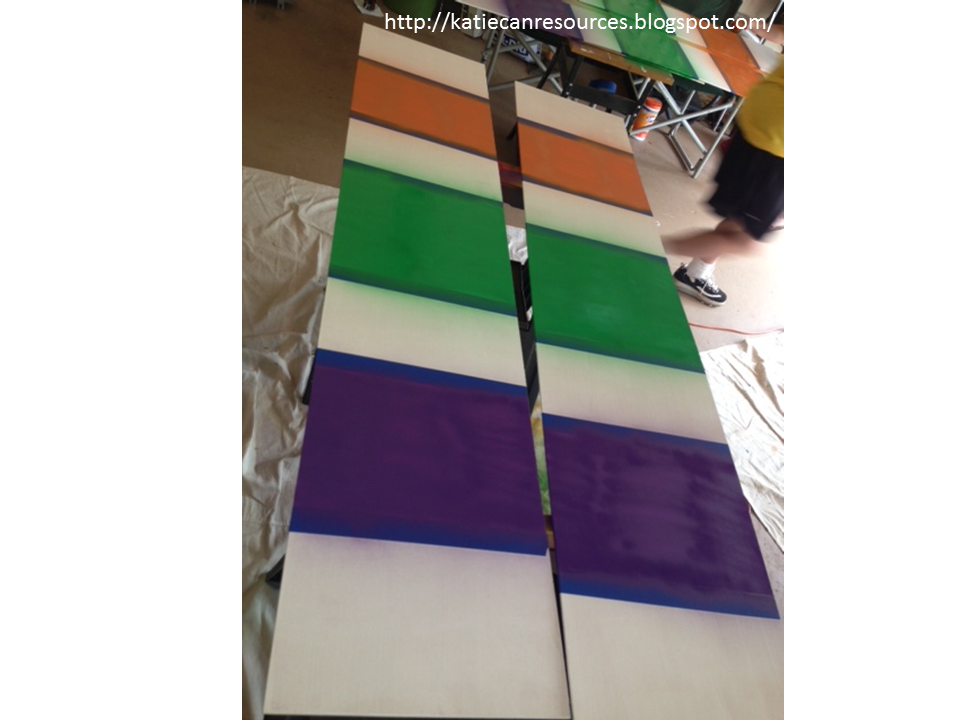
After lunch, we removed the tape and went to work taping off the other sections. So as to not ruin the sections we previously painted, we covered the painted sections with paper and then used painters tape to affix it. Once all sections were taped off we painted the pink, blue, yellow and red sections. While we waited for the paint to dry we trimmed the white off of the 7 Habits Clip Chart FREEBIES.

Finally, when all the paint was dry we removed the tape and paper. Then we used Mod Podge to affix the 7 Habits Clip Chart FREEBIE to each the clip chart making sure the colors matched. For example, the green polka dot border went on the green section of the clip chart. We found that applying Mod Podge to the clip chart, then placing the clip chart saying on top of it and following that with another coat of Mod Podge helped to securely affix the sayings.

I learned two things when we created the 7 Habits Clip Charts. First, I learned that spray paint may not be the best thing to use, particularly on a humid day. Acrylic paint could have been utilized and would have dried faster than the spray paint. Second, using a small roller in lieu of the sponge brush makes it easier to ensure that the Mod Podge is applied evenly and eliminates most of the air bubbles that might occur.
Altogether my teammates and I made eight 7 Habits Clip Charts. Since we all split the cost of the materials, it came out to about $10 per clip chart. We are so excited to utilize the 7 Habits Clip Chart in our classrooms this coming school year!

Katie, these look great!! :) Thanks for the shout-out!
ReplyDeleteAbby
Third Grade Bookworm